
Guide
Get started stamping your personal ManiScript story!
"Nail stamping allows you to get creative and tell your story with stamping manicures!"
Introduction
Our selection offers the largest and most personalised community-curated collection available
to stamp your perfect story within a wide range of categories.
It's a cost-effective way to customise your manicure with nail polish
-you can mix'n'match, frankenstamp and reuse the designs time and time again.
Say goodbye to difficult freehand nail art that never looks the same on all nails or water decals that peel off within minutes and show off your nail art with a story that is as personal, professional and unique as you!
Chapter 1.
APPLY POLISH

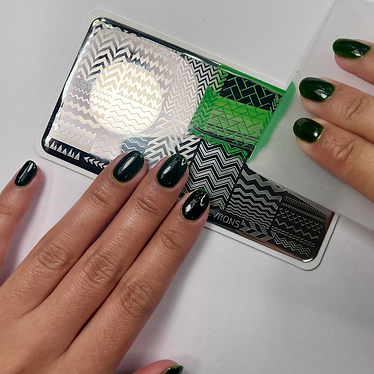
Line up all your stamping supplies so they are ready to be used. Locate and apply your nail polish to the design you wish to stamp on the stamping plate. Some design with finer lines may benefit from a slight scrubbing motion to get the polish deeply into the lines
Chapter 3.
PICK UP

Now it is SUPER IMPORTANT to move quickly!
Using the silicone part of your stamper, pick up the image by rolling it gently over the image.
Don't press it hard onto the design, a quick "swoop" like a gentle kiss on the cheek is best
Chapter 2.
SCRAPE
With a rigid plastic card, an old gift- or credit card, scrape the excess polish off the design in one quick scrape. It's okay if you don't get it all. Often the excess on the plate outside the design will not transfer onto the stamper and if it do you can remove it with scotch tape or a lint roller
Chapter 4.
STAMP

With your design transferred to the stamper, you are ready to stamp it on your nail. Align it and press down onto the nail, gently roll it from side to side to attach on all curves of the nail.Seal with your desired no-smudge or water based topcoat.
Reverse Stamping
Painting your design (advanced)
Chapter 5.
PAINT

Before placing the image on the nail, flip your stamper around to paint in the image from the backside. Use a toothpick, small dotting tool or fine detail brush to carefully float small dollops of the nail polish colour onto the image while it's still on the stamper. Set it aside to dry for 10-15 min.
Chapter 6.
STAMP

When your image is surface dry place it on your nail. Make sure your nail has a tacky surface. Place your image onto the nail by pressing down gently and roll the stamper from side to side. Seal with your desired no-smudge or water based topcoat.